|
While the Wiimote contains an innovative new way of playing, with it sensing movement, it isn't as good as it seems. Unfortunately, it can be quite inaccurate without the small strip which is called the Sensor Bar. This bar is actually quite simple. It contains 2 groups of about 5 Infra Red LED's, constantly transmitting. A small camera in the front of the Wiimote uses these Infra Red lights as another point of reference. So, it reads the Up/Down, Left/Right, Forward/Backwards, and Relative to IR lights movement to work out exactly where it is going. These 4 working together actually allow it to be insanely accurate (as you will notice while playing Wii games). To get the same level of accuracy on a computer, you will need a Sensor Bar of your own. And lucky, there are instructions out there on how to make one. Like these ones from the WiiLi.org Forums. Naturally, I want good movement, so I decided to put together one of my own. As I mentioned, this remote will be used at my TV. Which, you can guess, will be a distance from a USB port (don't count my Playstation 2 USB ports). But I still wanted ease of use near a computer. So, I decided to go with a dual use setup. A USB cable (which should run off any USB port on a computer, which should output 5v 600ma) paired with a small adaptor that can turn a standard transformer output into USB power. I could only get a 4.5v transformer (without paying twice as much for a multi-voltage one), but the small change in voltage shouldn't matter. If it does, I will replace it with a different one. Anyway, onto the parts list...
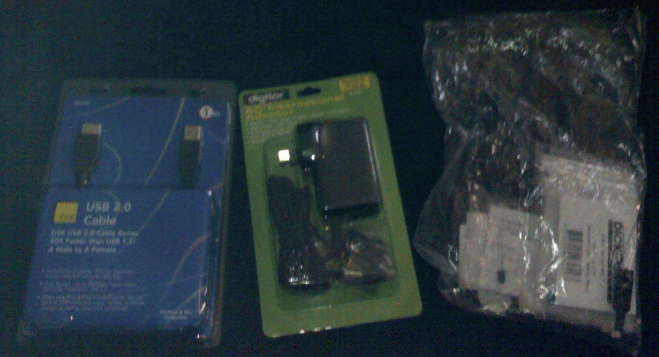
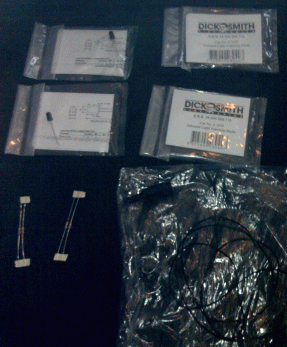
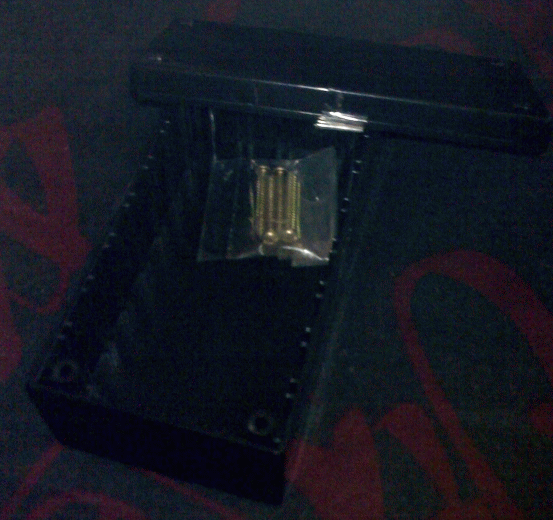
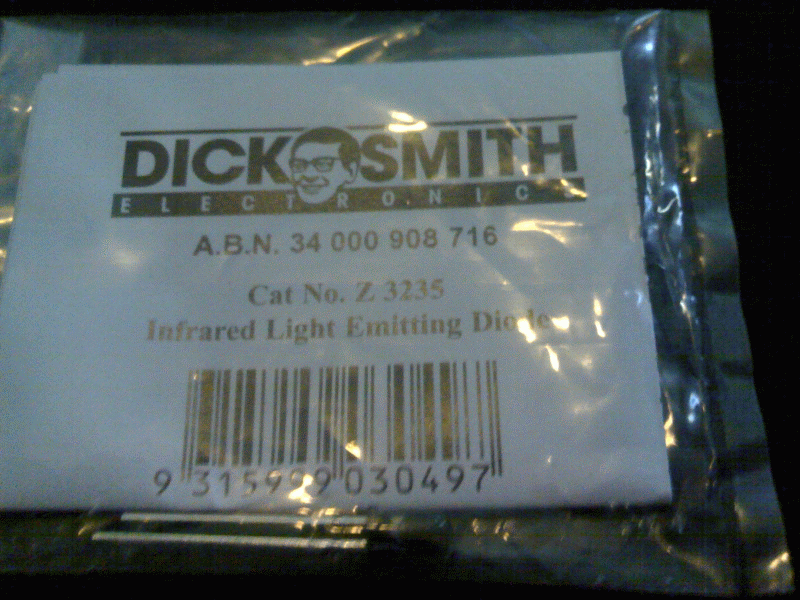
Parts for my Home-Built Sensor Bar, and Power Supply to match.
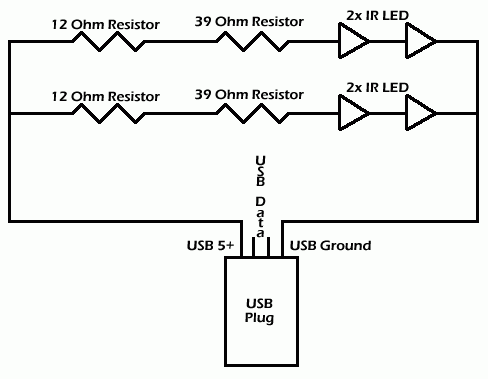
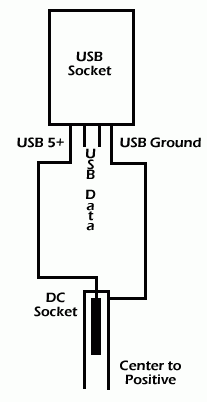
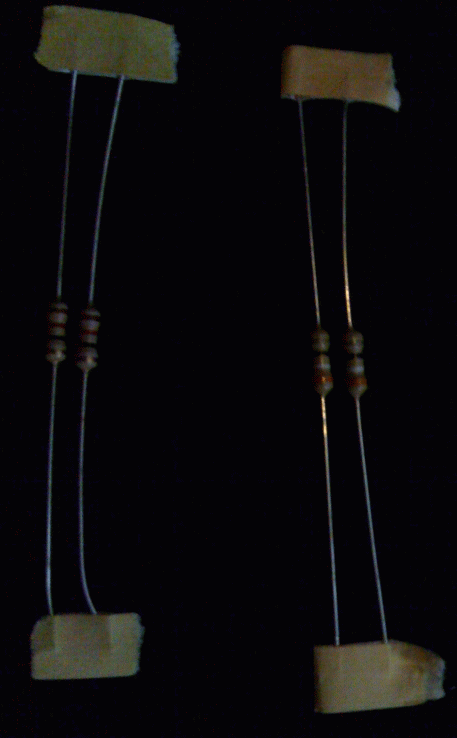
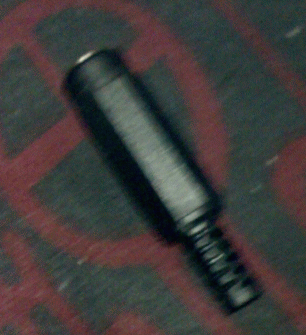
Got to love those Crap-tastic picture! How did I decide on some of those parts? Since I decided I would be working off 5V USB some of the time, I was able to use this calculator to work it out. It told me I needed 51ohms between the Power and each parallel LED circut. Here is a diagram showing how I plan on hooking it up... The plan is to cut the USB Extension cable near the Socket End, and use the rest of the cable as the cable for my Sensor Bar. The Socket will then be wired into the DC Socket, to be used as an adaptor. Some things to note:
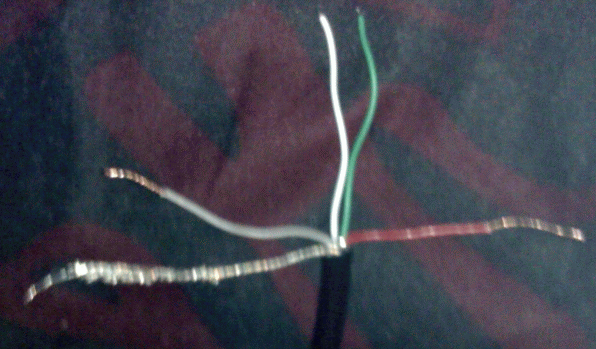
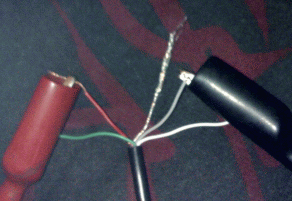
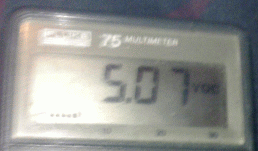
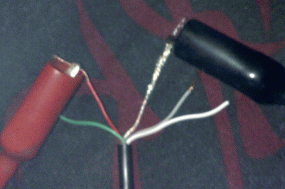
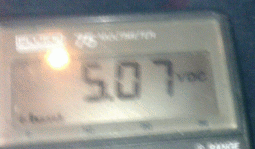
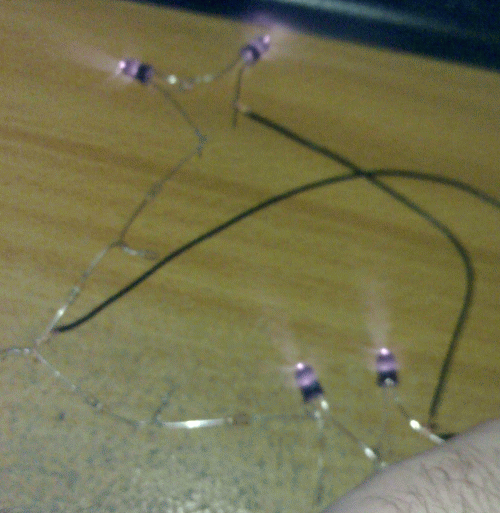
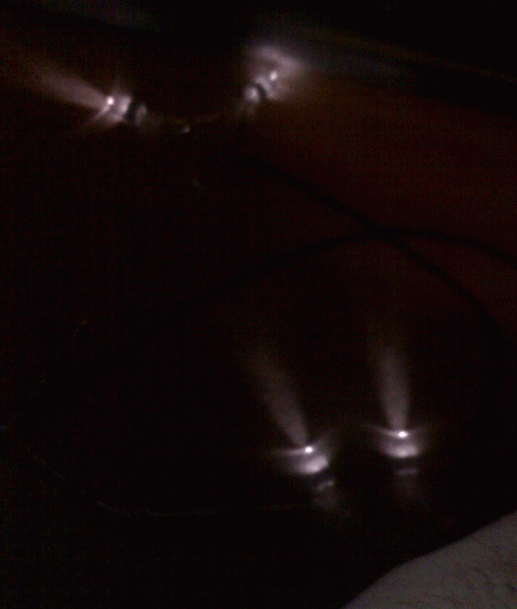
The first thing for me to do was to check out the USB cable. So I took out my work knife/pair of scissors, Cut it about 10cm from the socket end, and striped it back a bit. What about the other end..... Oh crap. The cable is too wide to fit into the cover of the DC socket. And I cant make it fit. I think I will be doing some sneaky Heatshrinking with that to make it work. Oh well, thats something for later... *puts USB cable aside* Next I decided to check the parts, before actually wiring them up, or even putting them in the case. After half an hour of bending thin leads that dig into soft fingers, linking together said thin leads, connecting wires to connect to the USB cable, fixing the thin leads, connecting the USB cable, fixing the thin leads, fixing the wires, fixing the thin leads, and fixing the wires one last time, I was ready to test the connection.... I had all of 5cm to move - otherwise I would send the entire connections falling off (already nearly did it once). Click and.... I cant see anything... Oh wait, its IR light....
Thats as far as I have got so far. Taking my tim putting it all together... Plus, I want to grab more wire. I think I will need it. |

